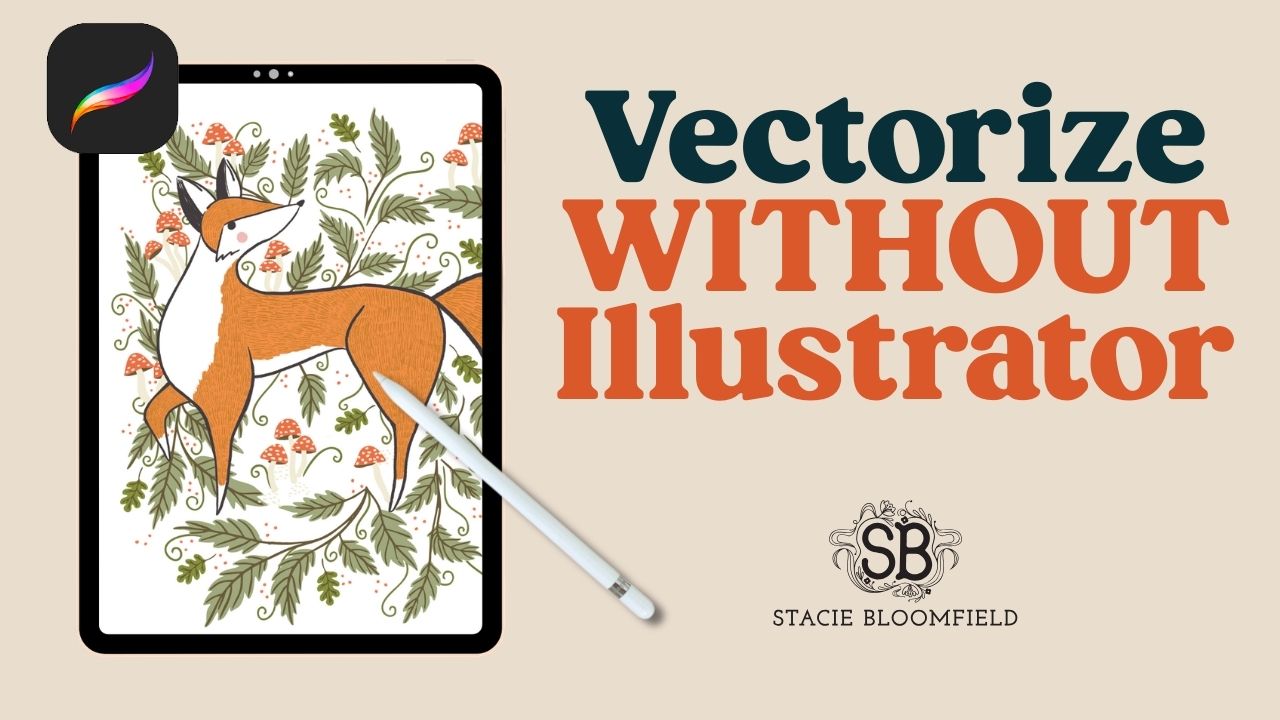
Full Color Vectorizer for Artists (No Illustrator Required)
How to Vectorize Artwork Without Adobe Illustrator
If you’re an artist who creates work in Procreate, with line drawings, or from scanned artwork, you’ve probably run into the same frustrating problem:
You need a vector file.
Vector files are required for things like:
-
fabric manufacturing
-
product design
-
art licensing
-
professional printing
But most artists think they need to learn Adobe Illustrator, which can feel overwhelming if you're primarily focused on drawing and painting.
Inside Make Your Art, I’ve created a solution designed specifically for artists:
A full-color vectorizer that converts your artwork into layered vector files, without needing Illustrator.
Let me show you how it works.
What Is a Vector File (And Why Artists Need One)
A vector file is artwork made from mathematical paths instead of pixels.
That means it can:
-
scale infinitely without losing quality
-
separate colors into layers
-
be edited easily by manufacturers
If you want to:
-
license artwork
-
create fabric collections
-
produce wallpaper or products
-
work with manufacturers
vector files are often required.
Unfortunately, converting art to vector format has traditionally required technical design software.
That’s exactly why I built this tool.
Introducing the Full-Color Vectorizer Inside Make Your Art
The Make Your Art vectorizer is a web app that transforms artwork into layered vector files automatically.
It works especially well with:
-
Procreate artwork
-
line drawings
-
high-resolution scans
-
photography with clear color areas
Currently it does not perform as well with watercolor gradients or very low-resolution JPEGs, but most digital illustrations convert beautifully.
Step 1: Upload Your Artwork
The first step is simple: upload your artwork.
Once uploaded, you'll see a preview window where you can zoom in and out to inspect your image.
This helps you confirm the artwork before processing begins.
Step 2: Choose Your Artwork Settings
Next, you can adjust the vectorization settings.
These include:
-
artwork type (scan, watercolor, graphic logo)
-
level of detail
-
color tolerance
-
number of colors
-
edge smoothness
-
solid fill mode
-
ignore white
These settings help the system determine how to interpret your artwork.
Built-In AI Assistant
If you’re unsure which settings to use, the AI Assistant analyzes your artwork and recommends presets that will give you the best results. This doesn't retain your artwork within the AI, so you don't have to worry about your work training any models.
This removes a lot of guesswork.
Step 3: Automatic Color Splitting
Once your settings are selected, the vectorizer begins processing your art.
The tool identifies each color in your artwork and separates them using their hex codes.
Each color becomes its own layer.
For example, if your artwork contains four colors, the tool will create four separate vector layers.
This is extremely useful for production and licensing.
Refine Your Vector Artwork
After the initial conversion, you can refine your artwork inside the tool.
Highlight Mode
Highlight Mode allows you to click on a color layer and instantly see where that color appears in the artwork.
This makes it easy to identify and adjust specific elements.
Merge Similar Colors
If two colors are very similar, you can merge them into one layer.
This helps reduce the number of color layers when preparing artwork for manufacturers.
Generate New Color Palettes
One of my favorite features is automatic palette generation.
With one click, you can generate alternate color palettes for your artwork and preview them instantly.
Your original color palette is always preserved, so you can easily revert back.
Compare the Original and Vector Artwork
Before exporting, you can compare the original artwork and the vectorized version.
A comparison slider lets you drag between the two versions so you can inspect details and make sure everything looks right.
This is particularly helpful for checking textures and color separation.
Export Your Vector Artwork
Once you're happy with the results, you can export your file.
Export options include:
-
layered vector file
-
PNG
-
JPEG
-
EPS
-
full ZIP package
Each color layer remains separated, which makes the file ready for production or further editing.
What Happens When You Open the File in Illustrator
When you open the exported file in Illustrator, you’ll see that every color is already separated into layers.
This means you can:
-
hide individual colors
-
edit palettes
-
prepare files for manufacturers
-
maintain texture details
The tool preserves the character of your artwork while preparing it for professional use.
Why This Tool Is a Game Changer for Artists
Most artists want to focus on creating artwork, not learning complicated design software.
The full-color vectorizer inside Make Your Art allows you to:
-
create art in Procreate
-
upload your artwork
-
convert it into professional vector files
All without needing to master Illustrator.
For artists interested in fabric design, licensing, or product manufacturing, this step can unlock entirely new opportunities.
Turn Your Artwork Into Production-Ready Files
If you've ever wondered how to take your artwork from creative idea to professional product, this tool was designed to bridge that gap.
Inside Make Your Art, you’ll learn how to:
-
develop your art style
-
prepare your artwork for licensing
-
create professional design files
-
build a sustainable creative business
And now you’ll also have access to the full-color vectorizer built specifically for artists.
Join Make Your Art to start turning your artwork into professional vector files.

StacieBloomfield.com needs the contact information you provide to us to contact you about our products and services. You may unsubscribe from these communications at anytime. See our privacy policy for terms and conditions and to learn how we protect your data.